While the excitement of getting going on the climb of Mount Kilimanjaro made day 1 a great day, day 2 was no less exciting thanks to the moorlands and Shira Camp. For many of us in the Trekking for Kids group, that was mainly due to the change in the landscape we were to experience (and maybe having one day under our belt?). Day 1 on the Machame Route had us hike through the forest zone at the base of Mt. Kilimanjaro; nice but not terribly interesting (at least to me). We had heard day 1 could be tough if it were raining or had just rained with the mud, etc. But we had good luck on the weather front.
In any case, on day 2, we moved into what is called the moorlands. It was a landscape I really liked, offering interesting plants and great views as well. But before we got going on day 2, I took a look around when I got out of my tent at the Machame Camp (at 10,200 ft / 3,100 m) and this is what was waiting for me!
A moorland? What is that? Where at the moors?
I had no idea what moorlands were prior to the hike. So I looked the term up. It said it was a climate zone at elevation with low-growing vegetation and fog. In the end, the descriptions I had found didn’t really help me conjure a good mental picture though the Wikipedia article actually had a picture of Kili’s moorlands. No worries, I was about to spend a whole day hiking the moorlands of Kili. So I stopped trying to get that mental picture. And these are some of the sights of the moorlands! (Hope they give you a better sense of the moorlands than Wikipedia gave me.)
Great vistas were part of our reward on day 2!
After the morning routine was done (eating breakfast, filling up with water, packing up our bedding and other stuff, etc.), we left the Machame Camp. We departed early in the morning around 7:45 AM under a great and beautiful blue sky. As we left, we could see neighboring Mount Meru in the distance which served as a great backdrop to our photos of the scenery around us.
The trail that day was pretty rocky but not in an intense way as other days; not terribly hard, I’d say. “I can do this!,” I thought often, with a lot of relief. Some more unique-looking larger rocks set there by nature along the way also made for photo opps that the group did not let go to waste. (This group let NO photo opp go to waste!!)
A beautiful place to spend the night: Shira Camp
We had had a great day but it was to get better after the 5.5 mile (9 km) hike: Shira Camp at 12,600 ft (3,840 m) (a gain of 2,400 ft in the day), where we were going to stay that night, was one of the most beautiful spots I saw on the entire climb. The Shira Camp overlooked a ridge (the Shira Ridge) and, if you turned 180 degrees around from admiring the ridge, you would find yourself facing the summit of Kilimanjaro.
The summit was breathtaking, especially at sunset. Three of us huddled together to take in that view, fully aware of how blessed we were to have the chance to enjoy it… We were also fortunate because we arrived to the camp (around 2 PM) about six hours after we started off which allowed us ample time to not only soak in the views but also to get good rest before the challenge of day 3.
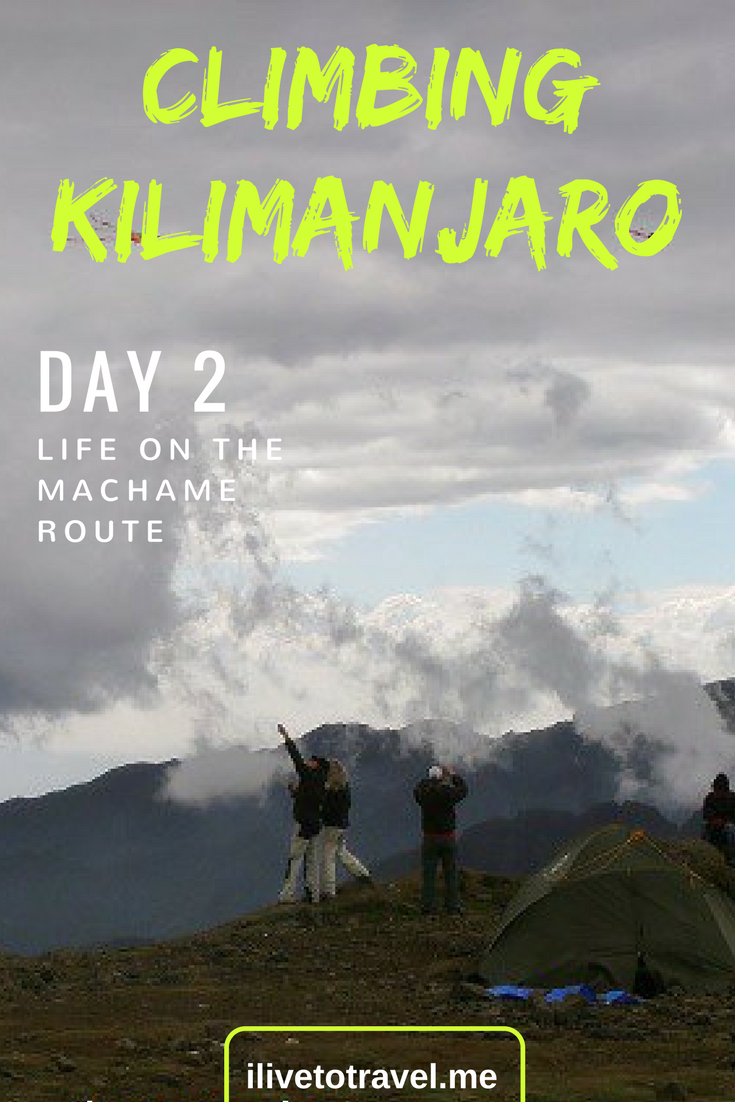
One of our trekkers had brought, of all things, a couple of small kites, and it was neat to watch her and others fly them. I am not sure I know what made her think to bring some but I was so happy she did. I did not get to fly them but I think I enjoyed more watching the scene unfold in front of me than actually flying one of the kites… Myself? I joined fellow trekkers Olivia and Austin in doing some stretches after the long day of hiking – but enjoying the great views while stretching.
Cell phone signal on Kilimanjaro
One of the spots with the best view of the Shira Ridge was not only a great spot for a photo opp but it also seemed to be the best spot for a cellphone signal as a few guides would sit on the nearby rocks and text away for a while. This spot also happened to be like within 10 ft (3m) from the toilet-tent nearest to my sleeping tent; the toilet-tent being a place I would visit a couple of times during the night as Diamox (the med you take to help prevent altitude sickness) is a very effective diuretic…
The toilet situation on Kilimanjaro
One of the best pieces of advice we got pre-trip was to bring a so-called “pee bottle.” With this, one could relieve oneself within “the comfort” of one’s own tent… Easier for guys than gals, I am sure. However, I hear women have a tool called a “pee funnel.” This simple tool assists in the proper channeling of the liquid into the bottle. I never saw one or heard of anyone in our group using it. Of course, if the bottle runneth over or a case of bad aiming struck, neither would not be a good situation (not alluding to ANYONE in the group…) so care must be taken in the use of said bottle…
Sometimes, though, the bottle did not have enough capacity for a given night’s “production.” So one still had to go outside to the toilet-tent (“going” somewhere else in camp is a no-no). Going out in the middle of the night was a slight to moderate pain as one had to put on the shoes, maybe a jacket and long pants, find the headlamp, undo a few zippers, etc. But I never failed to fall asleep easily upon returning from these small nighttime outings, mercifully…
I am not sure how this post took such a turn, so I will bring myself back to the more pleasant topic of the hike… Since I have already brought the topic up, allow me to share a gratuitous photo. The portable toilet in the toilet-tent. (I know some of my friends and family are DYING to see a pic of one of these.) Are you glad I went “there”?
I will add that this tent and toilet combo was super clean. Our porters carried our toilet-tents from camp to camp. Additionally, they took great care to clean it and disinfect it very well. For this, we made sure to properly thank not only during the hike but at the end with a great tip!
Lunch during the day’s hike
So, quickly switching topic… On day 2 we had one of our many favorite lunches of the whole climb: grilled tomato, cheese and cucumber sandwiches! The picture below will not do these sandwiches justice. They were a real treat and we gobbled up all these babies up happily! We also likely were served a soup (we typically were in every meal). However, the type changed every time they served it and I did not jot down what accompanied these beauties below.
When it is all said and done…
So the moorlands and Shira Camp, along with the great lunch, make for great memories. But below are the images that really capture the awesomeness of day 2 for me. I would happily head back to Kili simply to stay in this camp – and stay there a couple of days.
Back to Day 1…
On to Day 3…
—————————————————————————————————————————————————
Other posts about the Kilimanjaro trek:
– Preparing for the hike is more than training and gear
– The Machame Route: our way up
– 7 things you will not see me without as I climb Kili
– Day 4 of the hike: the dreaded Barranco Wall
– Interview with fellow Kili climber and Ultimate Global Explorer